
How to maintain off-grid solar

Maintaining an off-grid solar system means keeping four things healthy: the panels, the batteries, the charge controller and inverter, and the wiring that ties them together. Unlike a grid-tied array, an off-grid system has no utility to fall back on, so a neglected battery bank or a loose connection becomes a blackout rather than a slightly higher bill. This guide gives a practical schedule, explains what to check on each component, and shows how to read the numbers your charge controller already reports so problems are caught early.
Table of Contents
- Why Off-Grid Maintenance Is Different
- The Maintenance Schedule
- Panels and Mounting
- Batteries: The Part That Actually Fails
- Charge Controller, Inverter and Wiring
- Reading the Numbers Before Something Breaks
- FAQ
Why Off-Grid Maintenance Is Different
An off-grid system runs its batteries through a charge and discharge cycle every single day, and that cycling is what wears the system out. A grid-tied array has no batteries to age and no generator to service. Off-grid, the battery bank is both the most expensive component and the one with the shortest life, so most maintenance effort goes there.
The second difference is load management. When the grid is your backup, a cloudy week is invisible. Off-grid, the same week means the batteries sit at low charge for days, which shortens their life if the chemistry is lead-acid. Understanding how storage behaves under real cycling is the foundation; the U.S. Department of Energy’s solar energy and storage basics page is a good primer on why storage, not generation, sets the limits of a stand-alone system.
The Maintenance Schedule
A workable schedule has three tiers: a two-minute daily glance, a monthly check, and a longer annual service. The table below lists what belongs in each.
| Frequency | Task | What you are looking for |
|---|---|---|
| Daily (2 minutes) | Read state of charge and yesterday’s harvest on the controller or app | Batteries reaching full charge most sunny days; no fault codes |
| Weekly | Walk past the array and battery room | Visible shading, debris, smells, unusual fan noise, warm cables |
| Monthly | Check battery terminals and cable lugs; clean panels if dusty; test generator start if you have one | Corrosion, loose lugs, dust film, generator that will not start when needed |
| Quarterly (flooded lead-acid) | Check electrolyte level and specific gravity; top up with distilled water; run an equalisation charge if the manufacturer specifies it | Plates uncovered, cells drifting apart |
| Every 6 months | Torque-check all DC connections; inspect connectors; verify controller settings match battery type | Loose terminals, browned connectors, wrong charge profile |
| Annually | Full inspection: mounting hardware, cable insulation, ventilation, fuses, grounding; capacity test on the battery bank; firmware updates | Fatigue, rodent damage, blocked vents, batteries below 80% of rated capacity |
Put the annual service before winter, when days are short and the system has the least margin. That is the season when a weak battery bank shows itself.
Panels and Mounting
Panels need very little: keep them clean, unshaded and firmly mounted. Rain handles most cleaning. Clean by hand only when a visible film of dust, pollen or bird droppings builds up, and do it early morning with water and a soft brush. Never use a pressure washer or abrasive pads, which damage the anti-reflective coating.
Check shading each season. Trees grow, and an off-grid array in a rural spot is more exposed to new branches than a suburban roof. A single shaded panel in a series string drags the whole string down unless the panels have bypass diodes and the controller can find the new maximum power point. Walk the array at 9 a.m., noon and 3 p.m. once a year and note any new shadows.
Mounting hardware loosens with thermal cycling. Once a year, check that rails, clamps and ground-mount posts are tight and that no bolt has rusted. Look under the panels for wasp nests, rodent nests and chewed cables; these are the most common hidden faults in rural installations.
Batteries: The Part That Actually Fails
Battery care depends on chemistry, and the two common chemistries need almost opposite treatment. Lead-acid wants to be kept full; lithium iron phosphate (LiFePO4) tolerates partial charge and needs almost no hands-on work.
| Task | Flooded lead-acid | Sealed lead-acid (AGM/gel) | LiFePO4 |
|---|---|---|---|
| Water top-up | Every 1 to 3 months with distilled water | Never | Never |
| Equalisation charge | Monthly to quarterly, per manufacturer | Rarely or never; check the datasheet | Never; the BMS balances cells |
| Depth of discharge to aim for | Stay above 50% charge for long life | Stay above 50% | Routinely 80 to 90% depth is acceptable |
| Temperature | Cold reduces capacity; heat shortens life; ventilate hydrogen | Same, less gassing | Do not charge below 0 °C unless the BMS has heating |
| Terminal care | Clean and coat terminals; watch for white or blue corrosion | Check torque | Check torque |
| Capacity check | Specific gravity per cell quarterly; load test annually | Load test annually | Read BMS state of health; full-cycle test annually |
Two habits protect any chemistry. First, do not let the bank sit discharged. A lead-acid bank left at 40% for a week sulphates and loses capacity permanently. Second, match the charge controller’s profile to the exact battery type. A lithium bank on a lead-acid profile, or the reverse, will be over- or under-charged every day. How fast a bank loses capacity under different treatment is covered in our guide to battery degradation over time.
Ventilation is a safety task, not just a performance one. Flooded batteries release hydrogen while charging, so the battery room needs airflow and no ignition sources. Lithium banks should be installed to their listed standard and kept away from living spaces where possible; see our battery storage fire safety guide.
Charge Controller, Inverter and Wiring
The electronics mostly need clean air, tight connections and correct settings. Every six months:
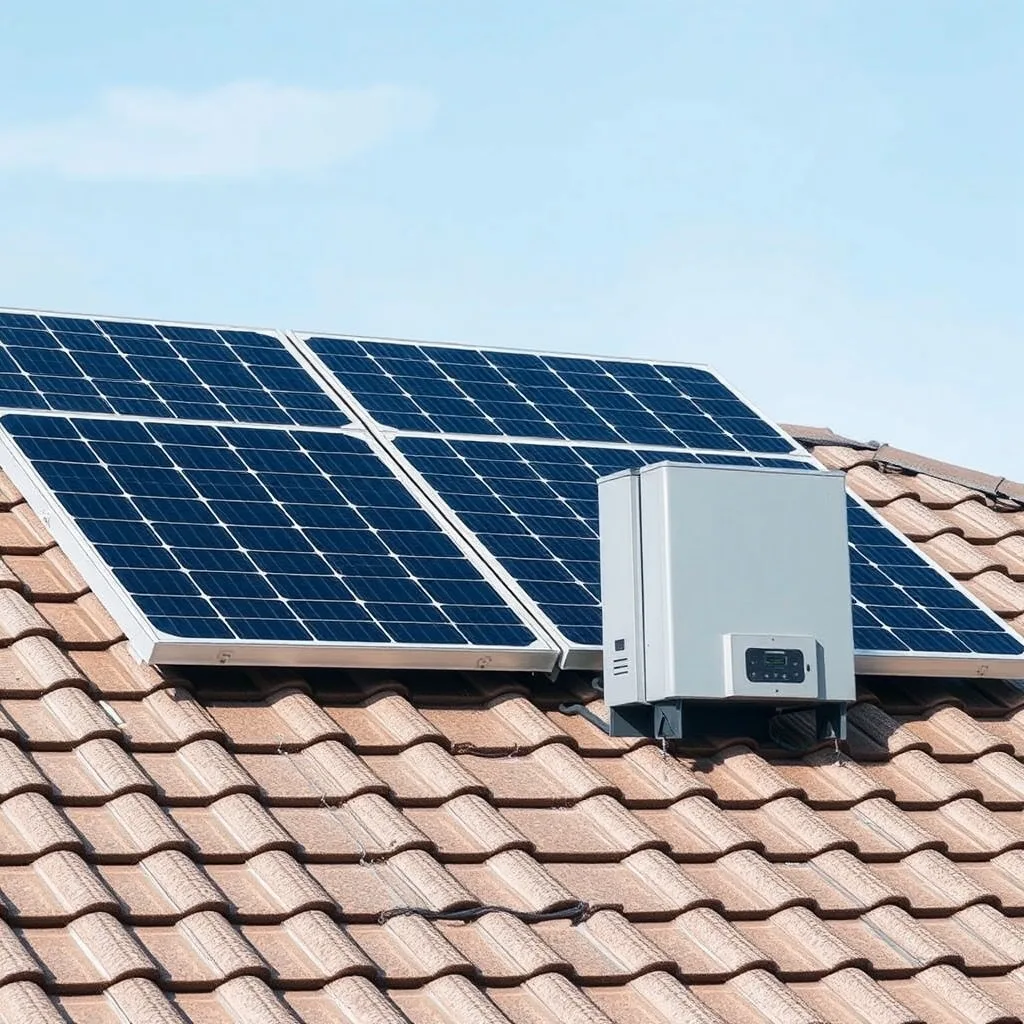
- Dust the heat sinks and fans. Inverters derate or shut down when hot. Compressed air and a brush are enough; do not open sealed units.
- Torque-check every DC lug. Battery cables carry hundreds of amps; a slightly loose lug heats, oxidises and gets looser. Use the torque values on the terminal or in the manual.
- Look at the connectors on the array side. Browning, deformation or a warm feel on a connector means replace it, both halves, with the same brand.
- Verify controller settings. Battery type, absorption and float voltages, temperature compensation and low-voltage disconnect. Settings sometimes reset after a firmware update or a power loss.
- Test protection devices. Fuses and breakers should be the rated size, not whatever was in the drawer. Exercise breakers once a year so they do not seize.
- Update firmware on controllers and inverters when the maker publishes a release note that fixes a real fault; do not update just because a version exists.
If your controller is an old PWM unit, an MPPT upgrade is one of the few maintenance-adjacent purchases that pays for itself in harvested energy. Our comparison of MPPT vs PWM charge controllers explains when it is worth it. For inverter faults that do not clear after a restart, follow the inverter troubleshooting guide before replacing anything.
Reading the Numbers Before Something Breaks
Your charge controller records the data that predicts most failures. Three numbers are worth watching every week:
- Time to full charge on a clear day. If the bank used to reach float by noon and now takes until 3 p.m. with the same loads, either the panels are dirty or shaded, or the bank has lost capacity and is absorbing longer. Check panels first, then batteries.
- Overnight voltage drop. A healthy lead-acid bank at rest holds close to its full-charge voltage until loads pull it down. A bank whose resting voltage sags faster each month is sulphating or has a weak cell. On lithium, watch the BMS cell-difference figure instead.
- Daily harvest versus the same month last year. A steady decline of a few percent per year is normal ageing. A step change is a fault: a failed panel, a bad connector or a controller stuck in a wrong mode.
Log these in a spreadsheet or use the controller’s app history. The point is not precision; it is having last year’s number to compare against. Stand-alone systems are described in more depth in this overview of stand-alone power systems, and our solar maintenance and DIY topic guide collects the related how-tos.
FAQ
How often should off-grid solar batteries be checked?
Glance at state of charge daily, check terminals monthly, and for flooded lead-acid check water level and specific gravity every one to three months. Lithium banks need a torque check and a BMS review every six months.
How often should I clean off-grid solar panels?
Only when a visible film builds up, typically once or twice a year in dusty or pollen-heavy areas. Rain does most of the work. Use water and a soft brush, never a pressure washer.
Do lithium batteries need maintenance?
Very little: keep connections tight, keep them above freezing while charging, and check the BMS for cell imbalance twice a year. No watering or equalisation is required.
What is an equalisation charge and do I need it?
A controlled overcharge that stirs electrolyte and balances cells in flooded lead-acid batteries. Follow the manufacturer’s interval. Never equalise sealed or lithium batteries.
Why does my battery bank take longer to charge than it used to?
Dirty or shaded panels, a controller in the wrong mode, or lost battery capacity. Check the panels and settings first, then load-test the bank.
How long do off-grid solar batteries last?
Roughly 3 to 7 years for lead-acid depending on depth of discharge and care, and often 10 years or more for LiFePO4 kept within its temperature limits.
Related Posts


Leave a Comment
Your comment will be published after it has been approved. Please send comments that do not contain slang words.