
Solar Connector Types

Short answer: Almost every new solar panel ships with an MC4-style connector; older arrays, some microinverter systems and portable kits use other connector families. A connector is the highest-resistance point in a string, so it is where heat concentrates — which is why a mismatched or cross-brand “looks compatible” connector is a leading cause of hot spots, arc faults and failed inspections.
Solar connector types are the plug-and-socket fittings that join panels, cables, combiner boxes and inverters into one DC circuit. Today almost every new panel ships with an MC4-style connector, but older arrays, some microinverter systems and portable kits still use different families. Choosing the wrong connector, or mixing brands that only look compatible, is one of the most common causes of hot spots, arc faults and failed inspections. This guide covers the main types, how to identify them, why brand matching matters, and how to crimp and test a connector so it lasts 25 years.
Table of Contents
- Why Connectors Matter More Than They Look
- The Main Solar Connector Types
- How to Identify a Connector
- Mixing Brands: The Intermatability Problem
- Crimping, Assembling and Testing
- Common Failures and How to Prevent Them
- FAQ
Why Connectors Matter More Than They Look
A connector is the highest-resistance point in a solar string, so it is where heat concentrates. A rooftop string commonly runs at 300 to 600 volts DC and 10 to 15 amps, with utility arrays going to 1,500 V. DC arcs do not self-extinguish the way AC arcs do, which is why a loose or corroded connector can char rather than trip a breaker. The U.S. Department of Energy’s overview of PV system design basics lists wiring and the balance-of-system hardware among the components that determine real-world performance and safety, and connectors are the smallest link in that chain.
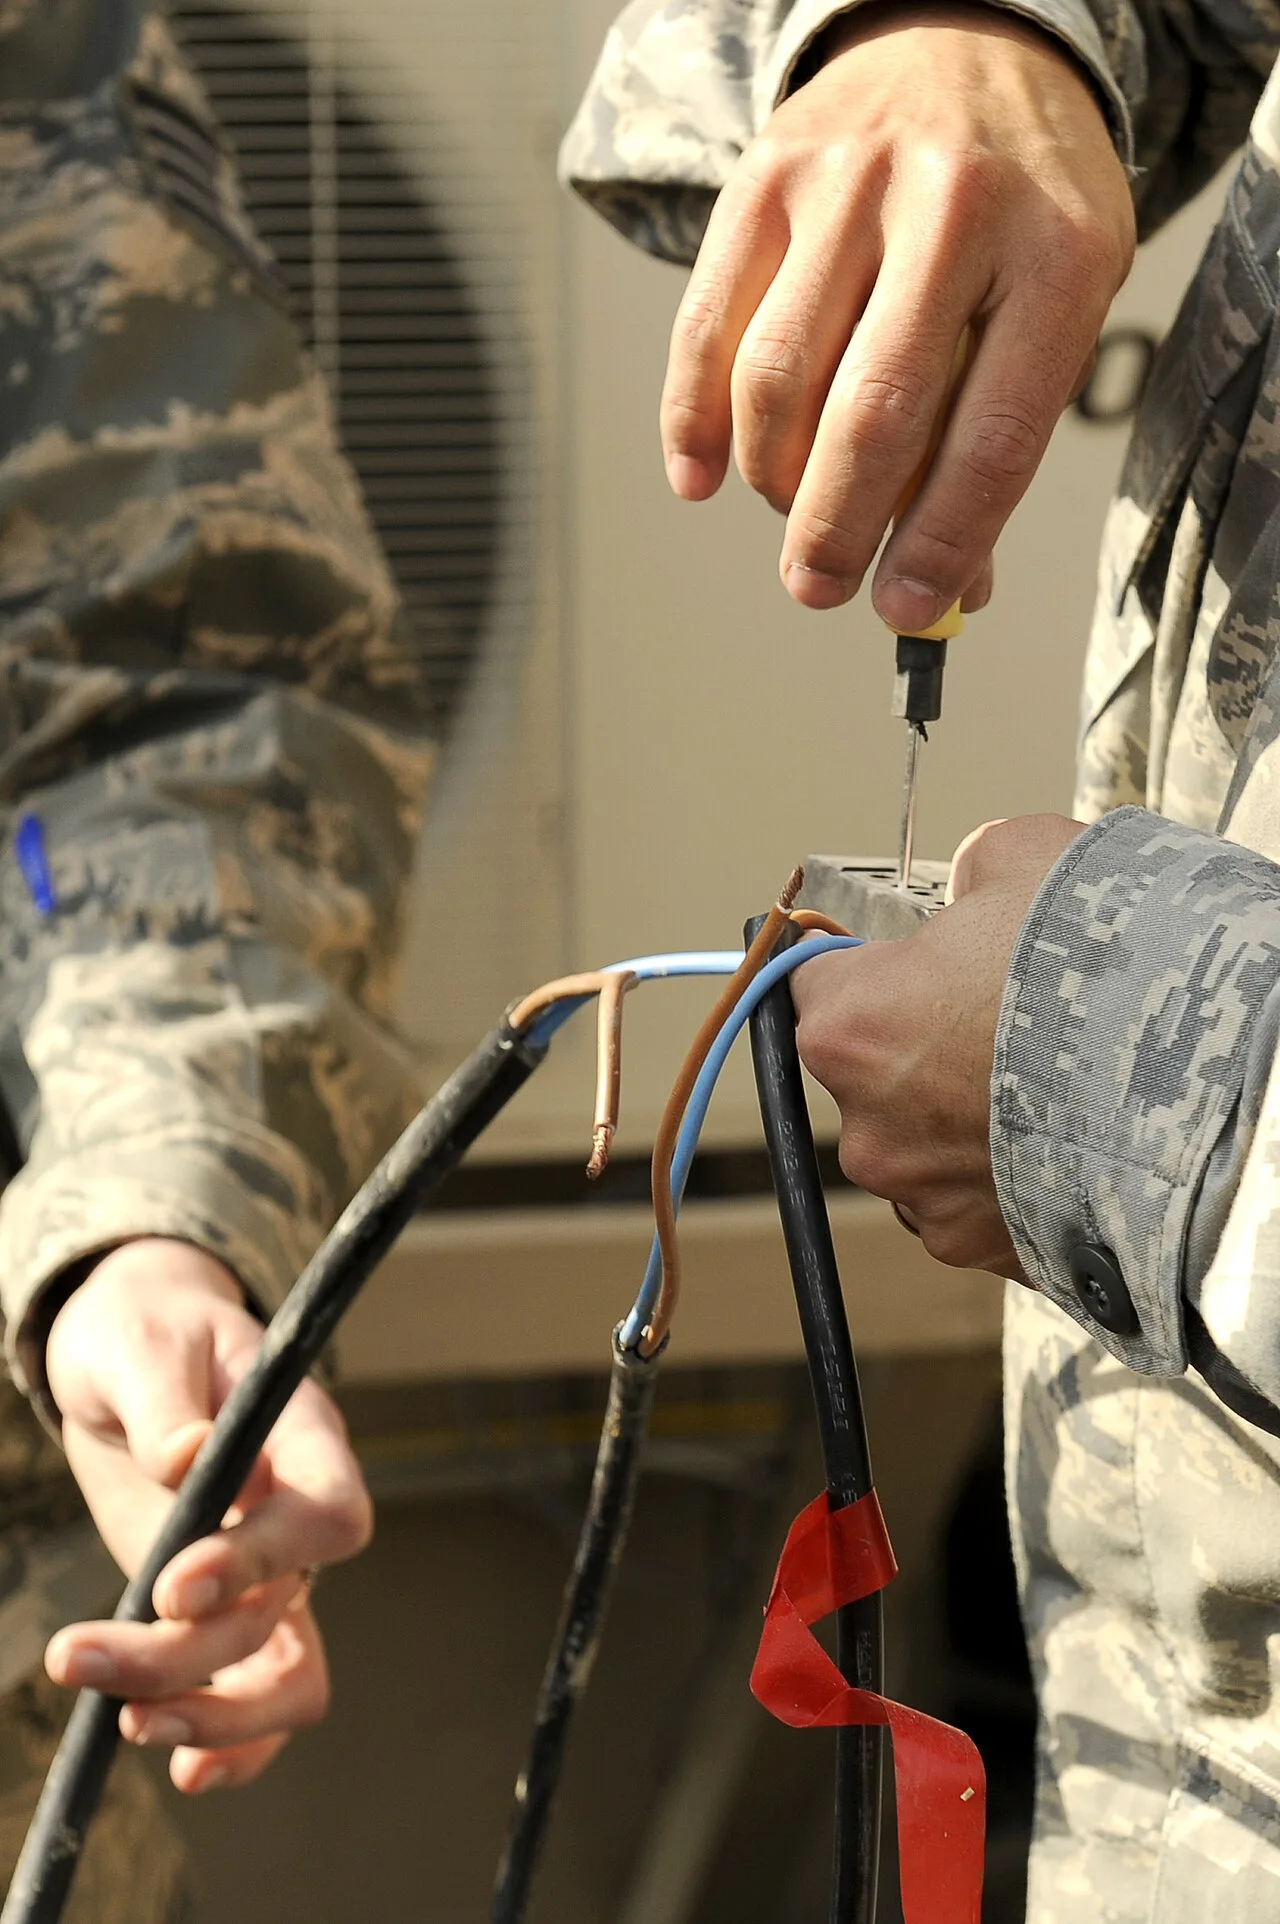
Three things a good connector must do for two decades outdoors: keep contact resistance low, keep water out (an IP67 or IP68 rating), and resist ultraviolet light and temperature swings without cracking. Cheap knock-offs often pass the first test on day one and fail the second within a few winters.
The Main Solar Connector Types
There are five families you are likely to meet. MC4 dominates new installations; the others show up on older systems, specific brands or portable gear.
| Connector | Where you find it | Typical rating | Locking method | Notes |
|---|---|---|---|---|
| MC4 (Stäubli) and MC4-compatible | Almost all panels since about 2010; string inverters, combiners | 1,000 to 1,500 V DC, 30 A typical with 4 to 6 mm² cable | Snap-lock, needs a tool to open | The de facto standard; many look-alikes exist |
| MC3 | Panels from roughly 2005 to 2012 | Up to 1,000 V, lower amperage | Friction fit, no positive lock | Obsolete; no longer meets the locking requirement in most codes |
| Amphenol H4 / UTX | Some panel brands and inverter leads | 1,500 V, up to 30 A | Snap-lock similar to MC4 | Physically similar to MC4 but not certified to mate with it |
| Tyco SolarLok | Older SolarWorld and some European panels | 1,000 V | Latch with polarity keying | Not interchangeable with MC4; adapters are needed |
| Anderson Powerpole / SAE / XT60 | Portable panels, RV and camping kits, power stations | Low voltage (12 to 48 V), 15 to 45 A | Friction or slide-lock | Not for rooftop strings; fine for low-voltage DC |
For a fixed rooftop or ground-mount array, the practical answer is MC4 or a genuinely certified equivalent from the same maker as your panels’ leads. For portable kits, use whatever the power station uses and buy a proper MC4-to-that adapter rather than splicing.
How to Identify a Connector
Identify a connector by its markings first and its shape second. Look on the plastic housing for the manufacturer name, the model (for example “MC4”, “PV-KST4”, “H4”), the voltage rating and a certification mark such as UL or TÜV.
- MC4 has a round body about 20 mm across, two side latches you squeeze with a small tool, and “Stäubli” or “Multi-Contact” moulded into genuine parts.
- MC3 is slimmer with no latches; the halves simply push together.
- H4 looks like MC4 but the latch profile and O-ring position differ; the housing usually says “Amphenol”.
- SolarLok has a flat-sided body with a visible latch tab and different pin geometry.
Check polarity too. On MC4 the male pin sits inside the female housing on the positive lead in most panel wiring, but manufacturers vary. Always confirm with a multimeter before connecting to an inverter or charge controller. Wiring mistakes at this stage are a frequent reason a system underperforms from day one; see our list of essential installation parts for the tools and hardware that belong in the kit.
Mixing Brands: The Intermatability Problem
Do not mate connectors from different manufacturers unless both makers certify the pairing. This is not marketing. The plastics, spring-contact geometry and seal dimensions differ slightly between “MC4-compatible” products. Two housings can click together, pass a continuity test, and still leave a fraction of a millimetre of contact misalignment that heats up under 12 amps in July.
Electrical codes in the U.S. and Europe now require connectors in a mated pair to be of the same type and brand, or explicitly listed as compatible. Inspectors look for it, and a field-crimped mismatched pair is a common reason for a failed final inspection. Insurance investigators look for it after a fire.
Practical rules:
- Buy connectors from the same maker as the panel leads whenever you extend a string.
- If panel and inverter use different brands, use a short factory-made transition cable that is listed for that pairing, not two field-crimped halves.
- Keep the packaging or datasheet of the connectors you used; it is your proof of listing.
Crimping, Assembling and Testing
A reliable connector needs the right cable, the right crimp tool and a pull test. Skipping any of the three is how “good” connections fail two summers later.
| Step | What to do | Common mistake |
|---|---|---|
| 1. Cable | Use PV wire (USE-2/PV or H1Z2Z2-K) in 4 or 6 mm² matched to the connector’s crimp barrel | Using automotive or building wire that the seal does not fit |
| 2. Strip | Strip 6 to 8 mm of insulation without nicking strands | Cutting strands, which raises resistance |
| 3. Crimp | Use the manufacturer’s ratchet crimper; the tool releases only when the crimp is complete | Pliers or a generic crimper, producing a loose contact |
| 4. Assemble | Push the contact in until it clicks; tighten the gland nut with the spanner tool | Hand-tightening the gland, leaving the seal loose |
| 5. Pull test | Pull firmly on the cable; the contact must not move | Skipping the test |
| 6. Verify | Check open-circuit voltage and polarity with a multimeter before connecting to a load | Connecting live strings and drawing an arc |
Never connect or disconnect a connector under load. Turn off the inverter or open the DC disconnect first, then unplug. Disconnecting a string at 400 V and 10 A produces an arc that burns the contacts and can injure you. This applies to microinverter trunk cables as well; many carry AC but are still live when the grid is up.
Common Failures and How to Prevent Them
Most connector failures come from water, heat or mechanical strain, and all three are preventable.
- Water ingress. A loose gland or a missing O-ring lets water in, corroding the contact. Prevention: tool-tighten the gland and keep connectors off surfaces where water pools.
- Heat from high resistance. A bad crimp or a mismatched pair heats up; the plastic browns, then chars. Prevention: proper crimp tool, same-brand mating, and a thermal camera pass during annual maintenance.
- UV embrittlement. Unrated plastics crack after a few years in sunlight. Prevention: buy certified connectors and keep cables tucked under the panels where possible.
- Strain and rodent damage. Cables hanging in loops get pulled by wind or chewed. Prevention: cable clips every 300 to 450 mm and drip loops before each connector.
- Unlocked connectors. A half-mated MC4 can hold for years and then open in a storm. Prevention: listen for the click and give a tug on every joint.
A monitoring app will usually show a failing connector as one string or panel drifting below its peers before it fails outright. If you see that pattern, inspect the connectors on that string first. Panel technology keeps improving, as the DOE’s PV technology basics page shows, but the connectors joining those panels still fail for the same old reasons. For related hardware guidance, including grounding and bonding that inspectors check alongside connectors, see our solar grounding and bonding guide and the wider solar components and hardware topic guide.
FAQ
What is the most common solar panel connector?
MC4, made by Stäubli, and its certified equivalents. Nearly every panel sold since around 2010 ships with MC4-style leads rated for 1,000 to 1,500 V DC.
Can I connect MC4 to MC4-compatible connectors from another brand?
Only if both manufacturers list the pairing as compatible. Otherwise codes require same-brand mating, and mismatches are a known cause of overheating and failed inspections.
What tool do I need to disconnect an MC4 connector?
A small MC4 unlocking tool that squeezes the two side latches. Turn off the inverter or open the DC disconnect before unplugging anything.
Are MC3 connectors still allowed?
MC3 lacks a positive lock and is obsolete. Existing systems keep working, but replacements and extensions should use a locking connector such as MC4.
What cable size fits an MC4 connector?
Most MC4 connectors accept 4 mm² or 6 mm² PV wire (about 12 to 10 AWG). Check the crimp barrel and gland size printed on the packaging.
How do I know if a connector is failing?
Browning or deformation of the housing, a string reading lower than its neighbours in the monitoring app, or a hot spot on a thermal camera. Replace both halves, not one.
Related Posts

Leave a Comment
Your comment will be published after it has been approved. Please send comments that do not contain slang words.