
RV Solar System: Complete Guide to Sizing, Installation & Cost (2026)
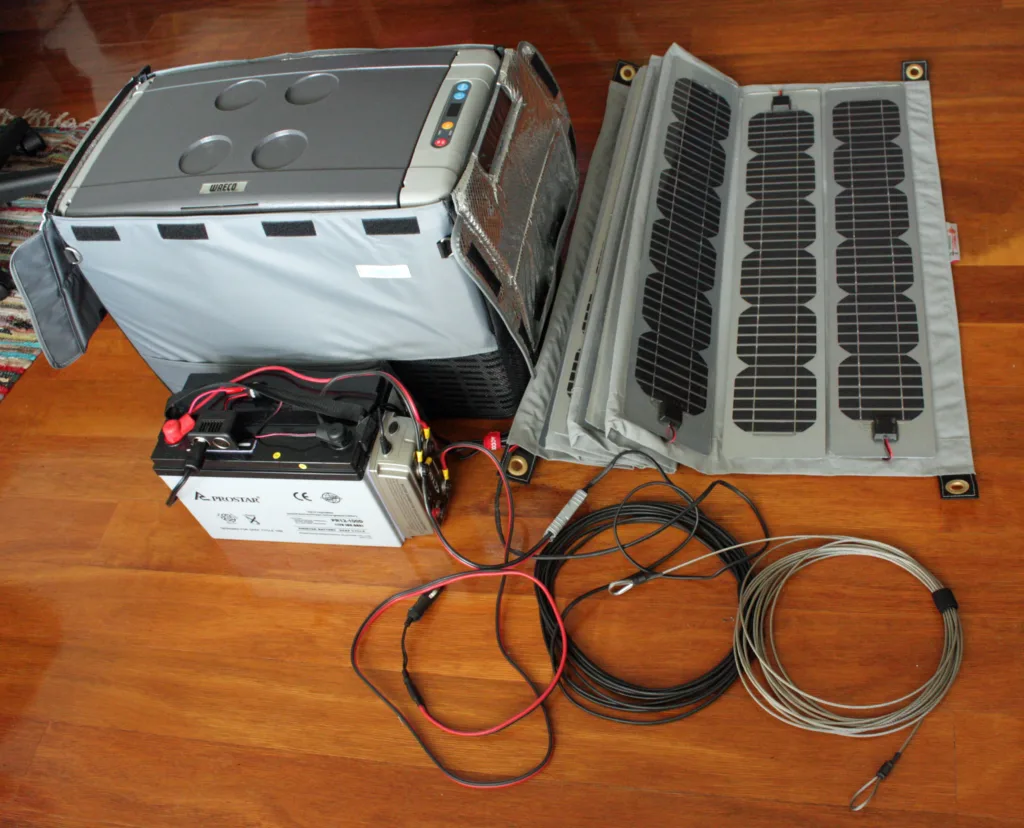
Adding solar power to an RV, camper van, or travel trailer changes how you travel. No more hunting for shore power hookups. No more running a noisy generator to keep the fridge cold overnight. But RV solar sizing is genuinely different from home solar. You’re working with a fixed, small roof area and strict weight limits. Your battery bank has to cover everything you use between charging opportunities. This guide walks through exactly how to size, choose, and install a system that actually meets your real power needs on the road.
Table of Contents
- Why RV Solar Makes Sense
- Calculating Your Actual Power Needs
- Rigid vs Flexible vs Portable Panels
- System Sizing Reference Table
- Sizing by RV Type
- Seasonal and Climate Considerations
- A Real-World Sizing Example
- Battery and Inverter Requirements
- MPPT vs PWM Charge Controllers
- Lithium vs Lead-Acid
- DIY vs Professional Installation
- Ongoing Maintenance
- Wiring and Fusing Safety
- What It Actually Costs
- Solar Plus Generator
- Panel Angle and Orientation
- Common Mistakes to Avoid
- Decision Framework
- Quiet Camping Benefits
- Battery Monitoring
- Frequently Asked Questions
Why RV Solar Makes Sense
Full-time and frequent RVers cite two motivations above all others for adding solar: boondocking freedom (camping outside paid campgrounds with hookups) and reducing generator noise and fuel costs. A properly sized solar-plus-battery system lets you run a residential fridge, lighting, water pump, fans, and device charging indefinitely in sunny conditions. No generator needed. It pays for itself faster the more nights per year you spend off-grid rather than at powered campsites.
Calculating Your Actual Power Needs
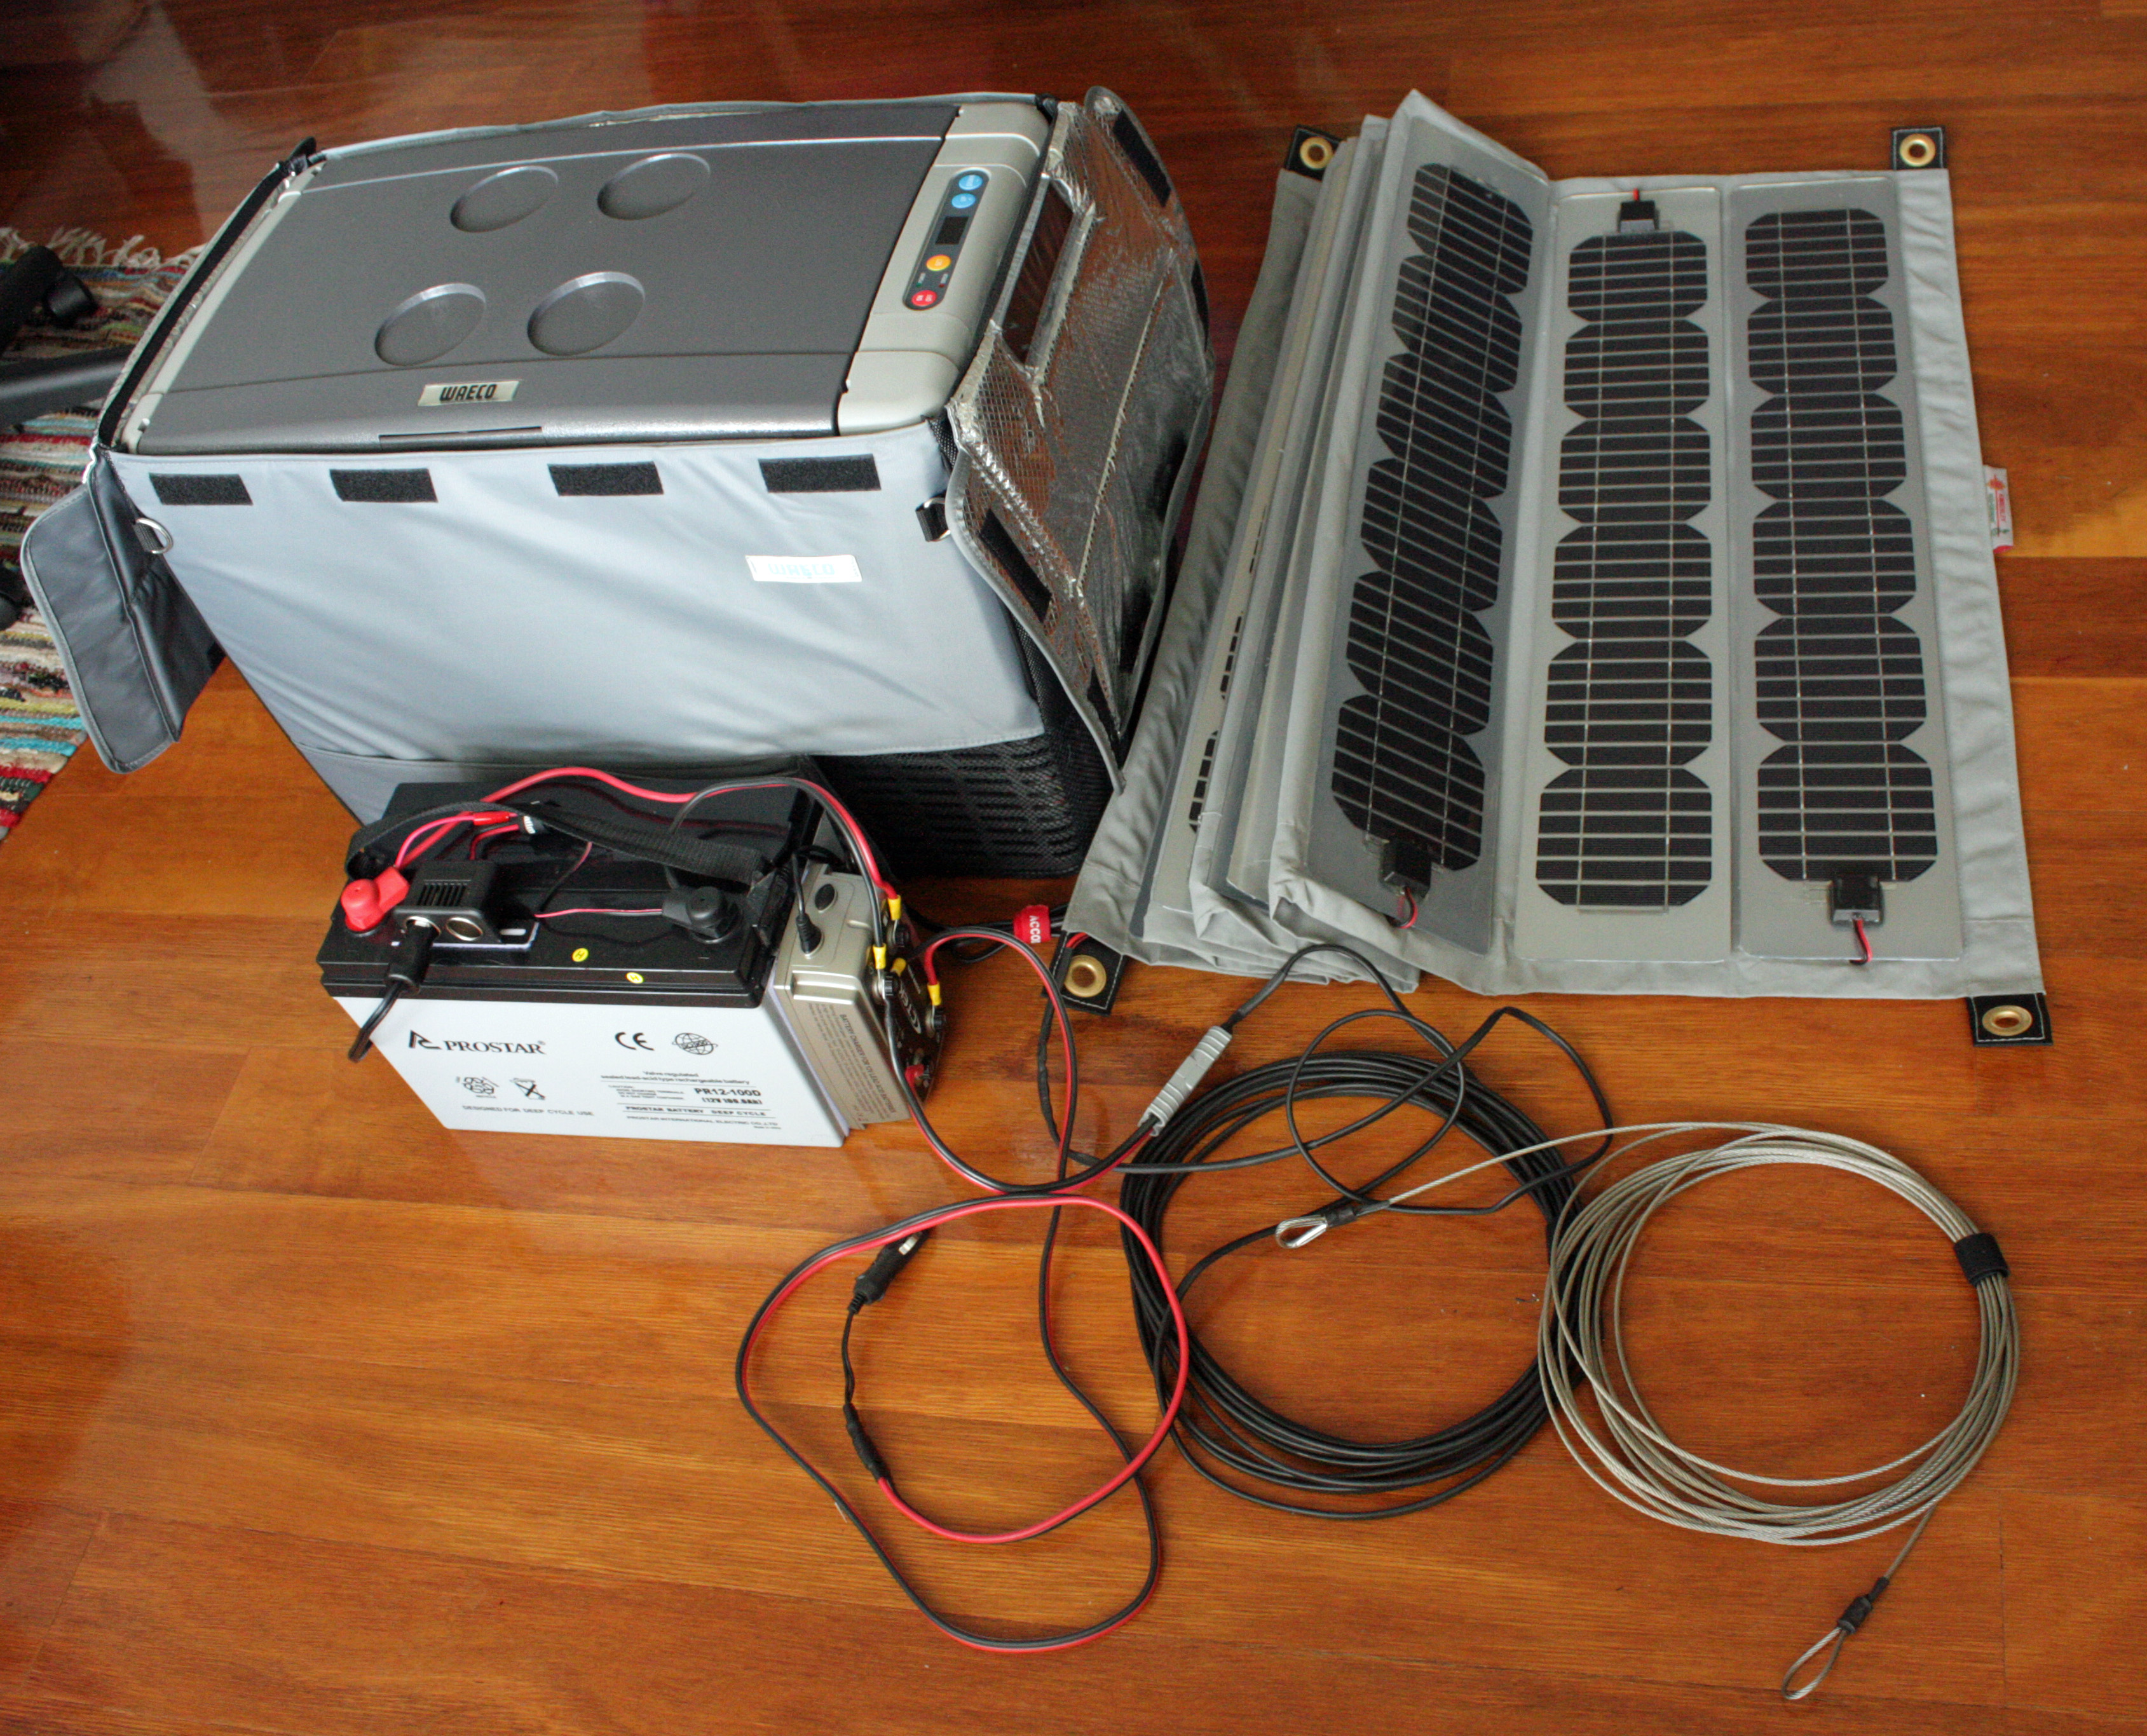
Start by listing every appliance you actually run and its daily runtime — not a generic “average RV” estimate. A 12V compressor fridge might draw 40 to 60W continuously. LED lighting is nearly negligible. A water pump runs briefly but often. A laptop or CPAP machine has a specific rated draw you can check on its label. Multiply each device’s wattage by daily hours of use, sum for total daily watt-hours, then add 20% for system losses. This is the number that should drive both your battery capacity and solar array size — not the size of panel that happens to fit your roof.
Rigid vs Flexible vs Portable Panels
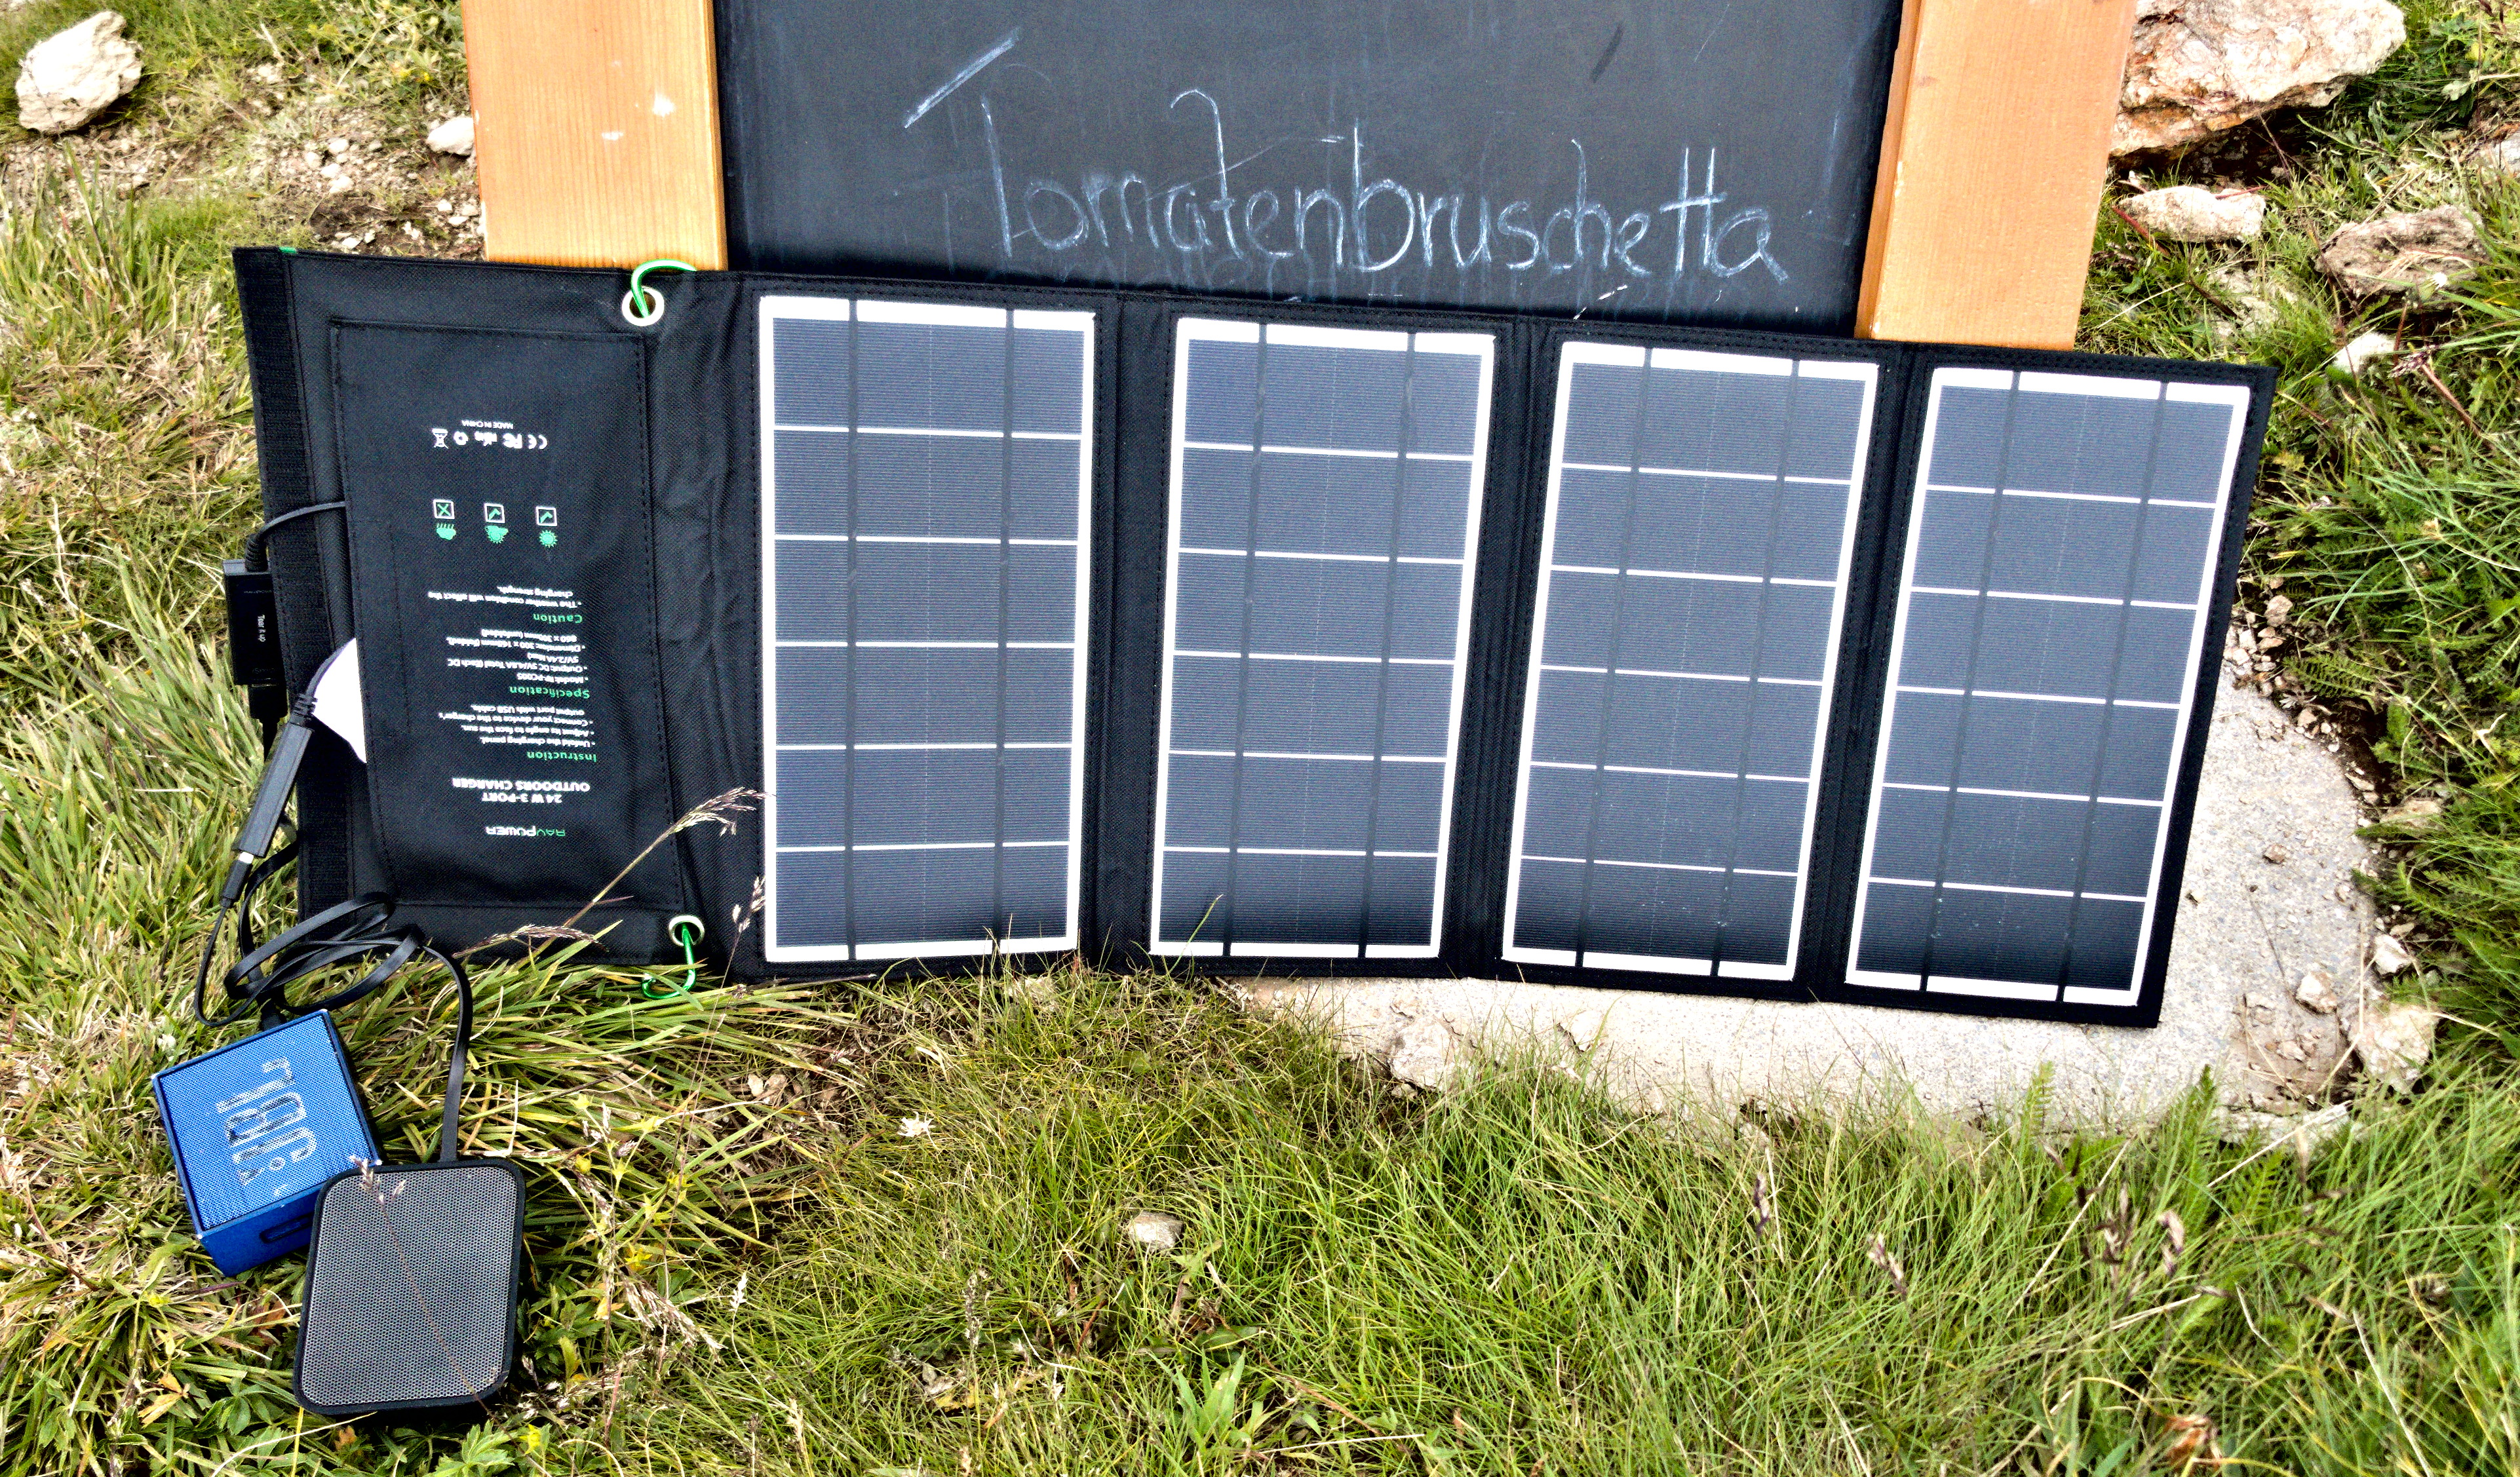
Rigid panels (aluminum-framed, glass-covered) are the most efficient and longest-lasting option, typically rated for 20-25+ years, but add roof weight and a small amount of wind drag. Flexible panels mount flush to curved or irregular roof sections and weigh far less, but generally run hotter (reducing efficiency) and have a shorter realistic lifespan, often 5-10 years before performance drops noticeably. Portable panels — foldable suitcase-style units you set up on the ground — let you chase the sun independent of your RV’s parking orientation and can be stored away when not needed, at the cost of setup effort and vulnerability to theft when left unattended.
System Sizing Reference Table
| Usage Style | Daily Usage | Recommended Solar | Recommended Battery |
|---|---|---|---|
| Weekend camper, basics only | 10-20 Ah | 100-200W | 100 Ah (1.2 kWh) |
| Occasional boondocker | 30-50 Ah | 300-400W | 200 Ah (2.4 kWh) |
| Full-time, fridge + electronics | 60-100 Ah | 600-800W | 300-400 Ah (3.6-4.8 kWh) |
| Full-time, AC or heavy tools | 100+ Ah | 800-1200W+ | 400+ Ah (4.8+ kWh) + generator backup |
Sizing by RV Type
Roof geometry and available space vary enormously across RV types, which shapes realistic solar capacity more than budget does. A Class A motorhome often has 200+ square feet of roof, easily accommodating 800W-1,200W+ of rigid panels alongside AC units and vents. A travel trailer or fifth wheel typically offers 100 to 150 usable square feet, after accounting for vents, antennas, and AC units. That generally tops out around 600 to 800W. Going higher means getting creative with flexible panels on curved sections. Camper vans and truck campers face the tightest constraints, often just 40 to 60 square feet. Flexible panels are one practical path to meaningful capacity. So is combining roof-mounted panels with portable ones. Match your expectations to your actual roof, not to what a larger RV’s setup achieves.
Seasonal and Climate Considerations
Solar output varies far more by season and latitude than most first-time RV solar buyers expect. A system that comfortably covers your needs in summer in the Southwest may fall meaningfully short in winter at higher latitudes. Days are shorter there and the sun angle is lower. Some RVers travel seasonally, following warm weather south in winter and north in summer. That’s the snowbird pattern. They generally see more consistent solar performance than those who stay in one high-latitude location year-round. If you’ll winter camp regularly at higher latitudes, size your system around your worst realistic month. An annual average will mislead you. The alternative is budgeting for supplemental generator use during the shortest-daylight months.
A Real-World Sizing Example
Consider a couple boondocking in a travel trailer. They run a 12V compressor fridge at 50W average, LED lighting, a water pump for short daily use, phone and laptop charging, and occasional fan use. That’s a realistic daily total of roughly 60 to 70 Ah at 12V. Sized with the 20% buffer discussed earlier, that points to a 300 to 400W solar array and a 100 to 150 Ah lithium battery. It sits comfortably within the occasional boondocker tier from the sizing table above. It’s also achievable on most travel trailers without needing the full roof.
Battery and Inverter Requirements
Lithium iron phosphate batteries have largely replaced lead-acid and AGM for RV use. They’re roughly half the weight for the same usable capacity. They tolerate deeper regular discharge without damage. And they handle thousands more charge cycles. All three matter when weight and longevity both count on a moving vehicle. Your inverter needs to be sized for your highest simultaneous load, not your average. Add headroom for the brief startup surge that motors and compressors draw. A common mistake is sizing the inverter for continuous wattage, then having it trip every time the fridge compressor kicks on.
MPPT vs PWM Charge Controllers
The charge controller regulates how power flows from your panels to your battery. The choice between MPPT and PWM meaningfully affects real-world charging efficiency. MPPT stands for Maximum Power Point Tracking, PWM for Pulse Width Modulation. PWM controllers are cheaper. They essentially clamp panel voltage down to match battery voltage, wasting the difference as heat. That’s fine for small systems where cost matters more than efficiency. MPPT controllers actively track the panel’s optimal operating point. They convert excess voltage into additional current. That typically recovers 20 to 30% more usable power from the same panels. The gain is largest in cool weather, when panel voltage runs higher than battery voltage. For any system above roughly 200W, the efficiency gain from MPPT pays for the price difference within one to two seasons of regular use.
Why Lithium Has Largely Replaced Lead-Acid for RV Use
A decade ago, flooded lead-acid or AGM batteries were the default RV house battery choice. Lithium iron phosphate has largely displaced them for a few concrete reasons that matter in mobile applications. It’s roughly half the weight for equivalent usable capacity, which is meaningful for payload-limited RVs. It can safely discharge to 80 to 100% of capacity regularly without damage, versus roughly 50% for lead-acid. That means a lead-acid bank needs double the rated capacity to deliver the same usable power. Lithium also delivers 2,000 to 5,000-plus charge cycles versus 300 to 500 for typical lead-acid. And it has no maintenance requirements like periodic watering. The higher upfront cost of lithium is the main tradeoff. Total cost per usable kWh delivered over the battery’s life usually favors lithium anyway. Lead-acid’s shorter real-world lifespan and effective capacity penalty are what close the gap.
DIY vs Professional Installation
Mounting panels and running wiring is a manageable weekend DIY project for most RVers comfortable with basic tools and a wiring diagram. Two risks stand out. Roof penetrations leak if not properly sealed. And undersized wire gauge causes voltage drop over longer cable runs. Professional installation makes more sense for complex systems. That includes inverter and charger integration with existing RV electrical systems. It also applies if you’re not confident working with the DC wiring and fusing that protects against fire risk from a short circuit.
Ongoing Maintenance
RV solar maintenance is minimal but not zero. Panels should be rinsed periodically to remove dust, pollen, tree sap, and road grime. All of these meaningfully reduce output. Even a thin film of dust can cut production by 5 to 10%. Check wiring connections and mounting hardware for vibration-related loosening a few times per year. RVs experience far more mechanical vibration during travel than a stationary rooftop system ever would. Battery terminals on non-sealed battery types should be checked for corrosion. It’s also worth periodically confirming your charge controller and battery monitoring app report numbers that make sense. A sudden unexplained drop in charging performance is often the first sign of a loose connection or a failing panel, not a battery problem.
Wiring and Fusing Safety Basics
Undersized wiring is one of the most common and dangerous mistakes in DIY RV solar installs. Wire that’s too thin for the current and distance heats up under load. It wastes power as resistance. In worst cases it creates a fire risk. As a general rule, longer cable runs and higher current both require thicker gauge wire. Consult a proper voltage-drop calculator or wire sizing chart for your specific current and distance. Don’t guess. And don’t just match whatever gauge came with a kit, which may have been sized for a shorter run. Every circuit needs an appropriately rated fuse or breaker close to the battery. That covers panel to charge controller, charge controller to battery, and battery to inverter. Size the protection to the wire, not just the component. Skipping fusing to save a few dollars is the single most common corner-cutting mistake that turns a minor short circuit into a serious fire.
What It Actually Costs
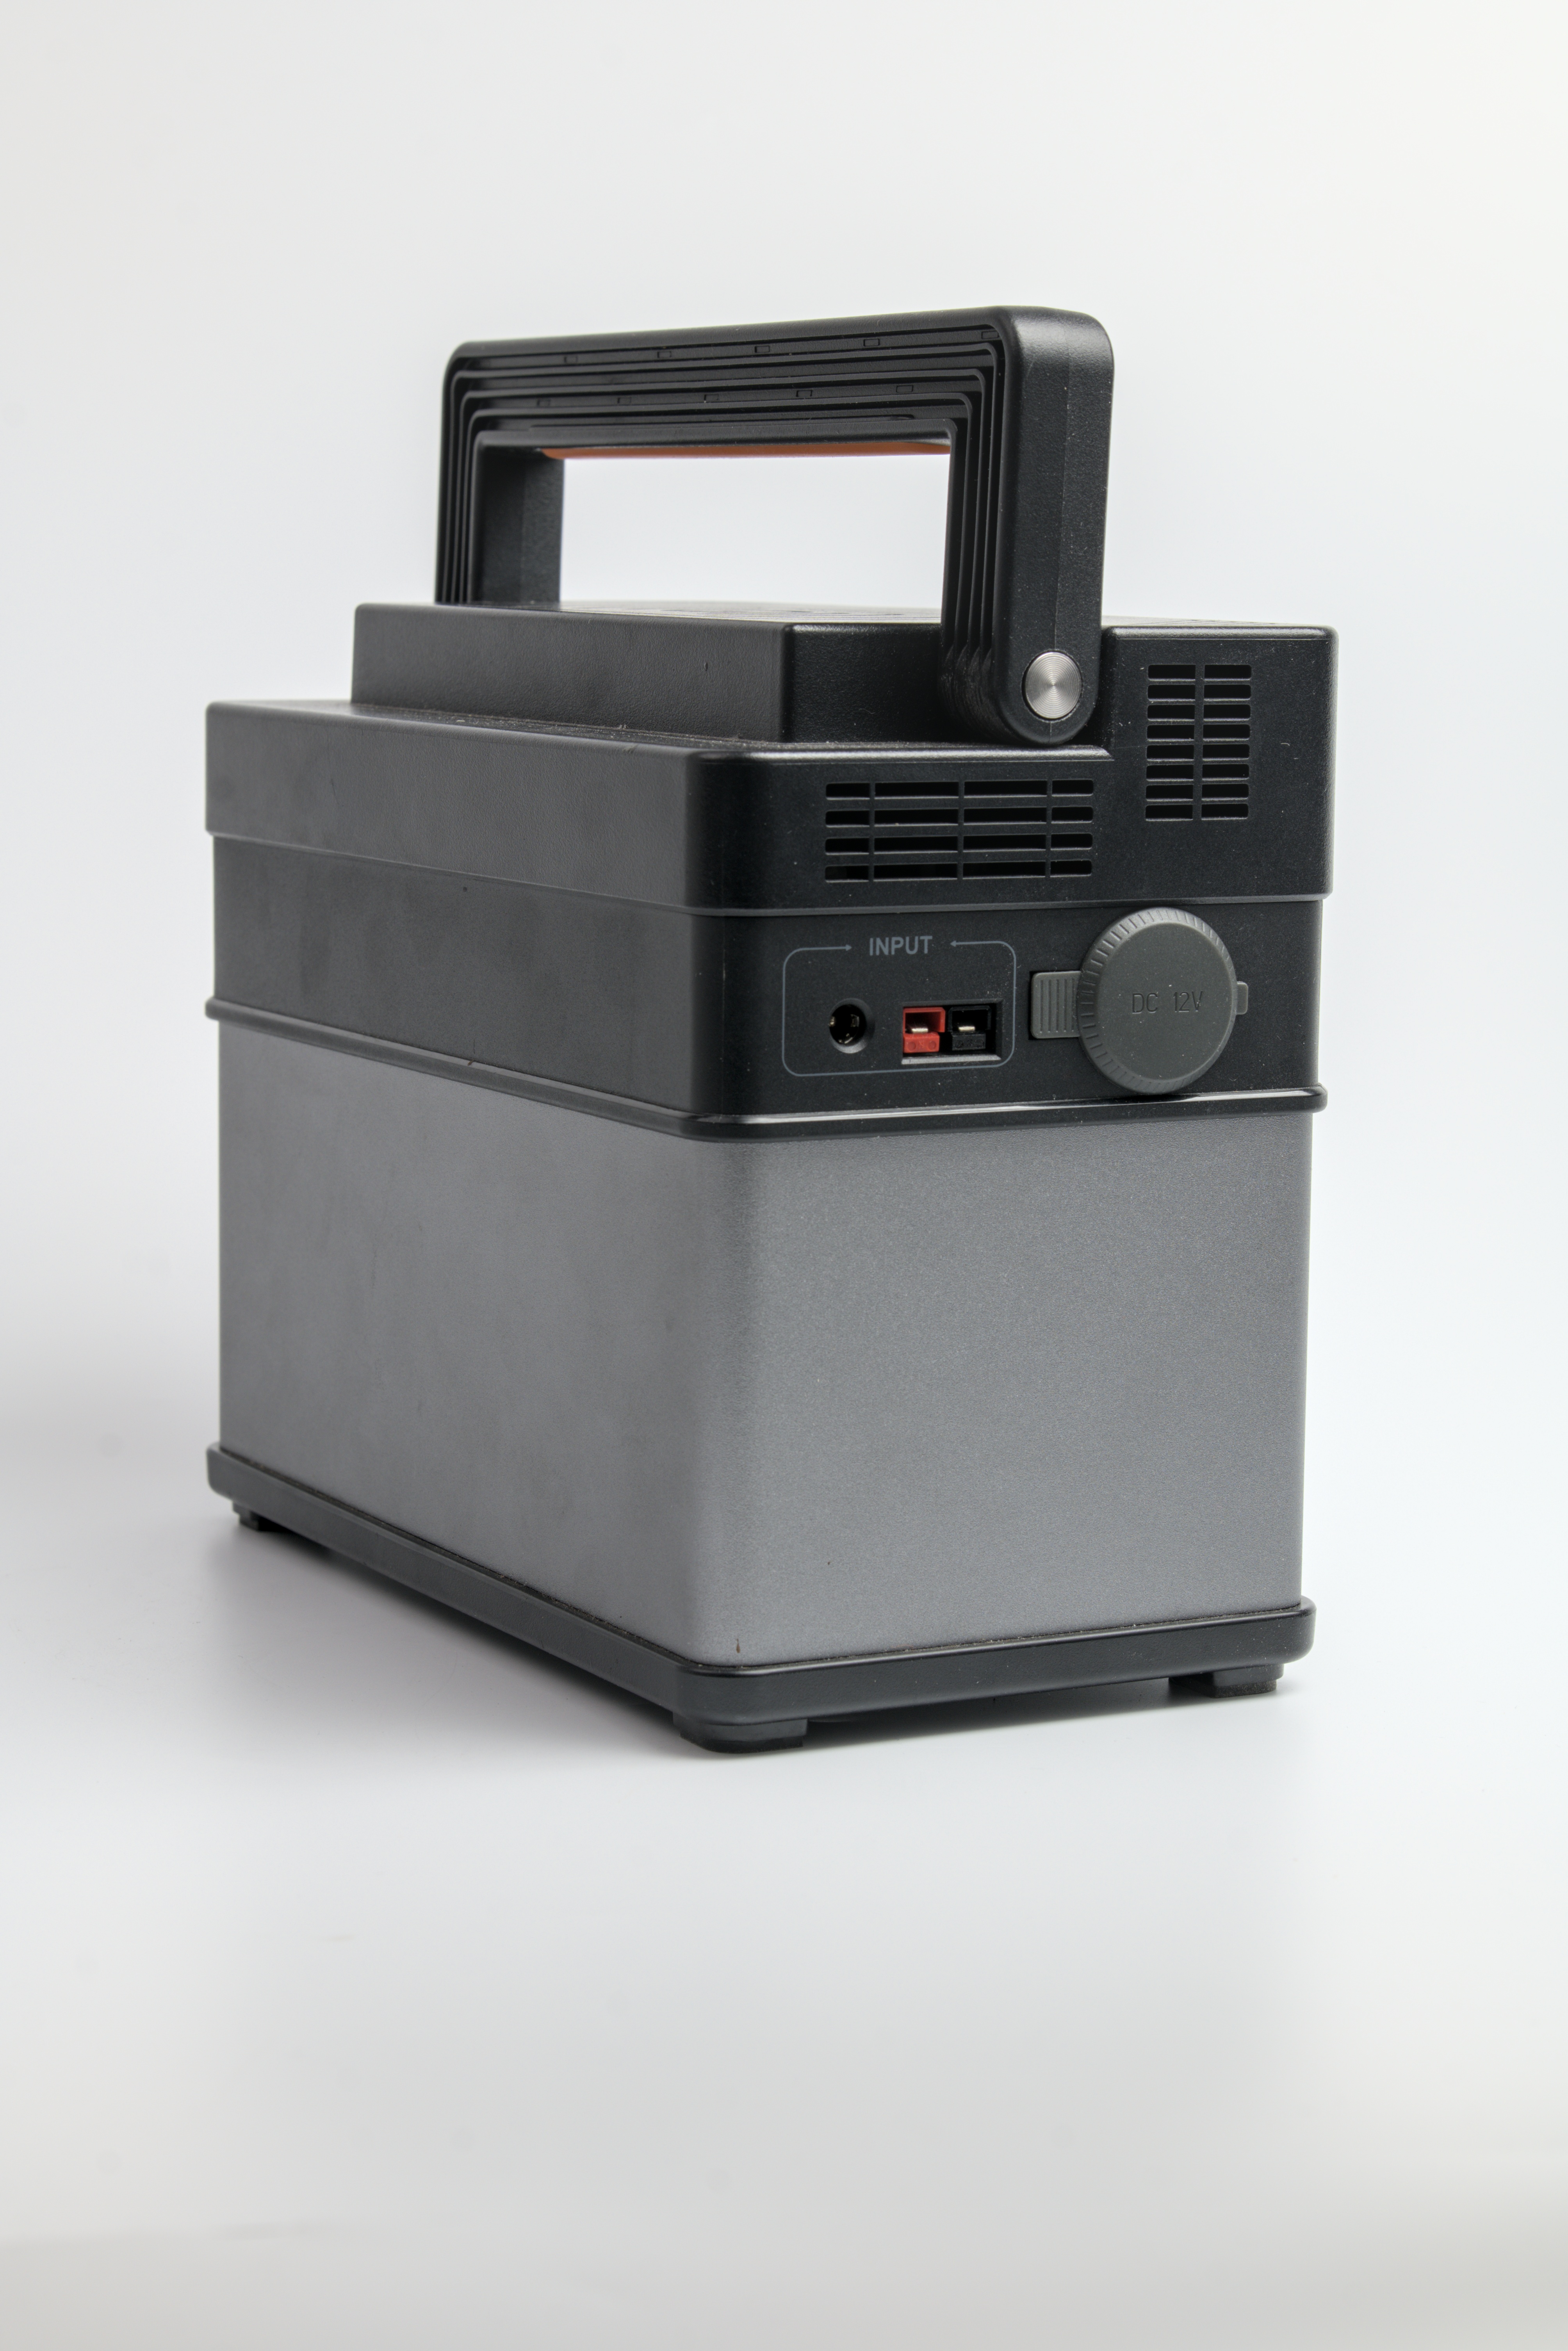
A basic weekend-camper system (100-200W, 100 Ah battery) typically runs $400-800 in parts for a DIY install. A full-time-capable system (600-800W, 300-400 Ah lithium) generally lands between $2,500-5,000 in parts, or more with professional installation labor. Portable all-in-one solar generator kits offer a no-drilling alternative starting around $300-600 for smaller units, trading some capacity and cost-efficiency for zero permanent installation.
Solar Plus Generator: The Hybrid Approach
Most experienced full-time RVers don’t treat solar and generators as an either-or choice. They size solar for typical conditions. They keep a generator as backup for extended cloudy stretches, winter camping, or occasional high-draw needs like air conditioning. This hybrid approach lets you size the solar system more conservatively, and more cheaply, than covering every possible scenario with panels and batteries alone. It still dramatically reduces how often the generator actually runs, compared to going without solar entirely. A propane or gas generator sized for your highest occasional load, used only as backup, is often more cost-effective. Oversizing a solar-plus-battery system to handle the rare worst-case week rarely pays off.
Detailed Cost Breakdown
| Component | Budget Option | Mid-Range | Premium |
|---|---|---|---|
| Solar panels (per 100W) | $70-100 | $100-150 | $150-220 |
| MPPT charge controller | $80-150 | $150-300 | $300-500 |
| Lithium battery (100 Ah) | $300-450 | $450-650 | $650-900 |
| Inverter (2000W pure sine) | $150-250 | $250-450 | $450-700 |
| Wiring, fusing, mounting hardware | $100-200 | $150-250 | $200-350 |
| Professional installation labor | DIY ($0) | $300-600 | $600-1,200 |
Warranty and Product Selection
Solar panel warranties typically split into two parts. The product warranty runs 10 to 12 years and covers manufacturing defects. The performance warranty runs 25 years and guarantees a minimum output percentage, commonly 80 to 85% at year 25. It’s the same structure used in residential solar. Lithium battery warranties for RV-specific products usually run 5-10 years or a cycle count, similar to home battery storage. Buy from manufacturers with an established RV-specific product line rather than repurposed marine or general-purpose components. That generally means better support for RV-specific mounting hardware and connectors. It also means better troubleshooting when something goes wrong on the road far from home.
Panel Angle and Orientation on the Road
Fixed roof-mounted panels lie flat, which is a real compromise versus the optimal tilt angle a stationary rooftop system would use. Flat mounting sacrifices some peak output. It avoids wind resistance and mechanical complexity while driving. Tilt-mount brackets let you angle panels toward the sun when parked. They recover a meaningful amount of that lost output. The gain is largest in winter or at higher latitudes, where the sun sits lower in the sky. They’re worth the modest added cost and setup effort for anyone who camps in one spot for more than a day or two. Portable panels sidestep this tradeoff entirely since you position them for optimal angle independent of how the RV itself is parked.
Common Mistakes to Avoid
The most common sizing mistake is buying panels based on available roof space rather than actual power needs. An underpowered system leaves you running the generator anyway. That defeats the purpose. The second most common mistake is undersizing wire gauge for the distance between panels and the charge controller. That causes voltage drop and real efficiency loss. The loss is invisible until you measure it. Finally, skipping a proper charge controller (MPPT over the older, less efficient PWM type) leaves meaningful charging efficiency on the table, especially in partial shade or cooler mornings.
Putting It Together: A Simple Decision Framework
Start with your actual daily watt-hour usage calculated earlier, not your roof space or budget. Match that number to the closest tier in the sizing table. Choose the higher tier if you camp mostly in shoulder seasons or higher latitudes. Output runs lower there than in peak summer conditions. Choose rigid panels if roof space and weight allow it and you want maximum long-term efficiency. Choose flexible or portable panels if you’re weight- or space-constrained, or want the flexibility to angle panels toward the sun independent of how your RV is parked. Default to lithium battery chemistry and an MPPT charge controller unless budget is the binding constraint. Both pay for their price premium in better real-world performance. That typically happens within one to two seasons of regular use.
Quiet Camping and Campground Restrictions
Beyond cost savings, a growing number of RVers choose solar for access. Many campgrounds and dispersed camping areas restrict quiet hours or prohibit generator use entirely. That includes national forests, BLM land, and an increasing number of state and private campgrounds enforcing quiet-hours generator bans. A properly sized solar-plus-battery system opens up camping locations and experiences generator-dependent RVers simply can’t access. For many full-time and frequent RVers, that ends up being as significant a motivation as the direct cost savings.
Battery Monitoring and Apps
Most modern lithium RV batteries and charge controllers pair with a smartphone app via Bluetooth, showing real-time state of charge, charging current, and historical usage patterns. This visibility matters more on the road than it does for a stationary home system. You’re making daily decisions constantly. Can you run the microwave? Does tomorrow’s forecast mean you should conserve? Is a component underperforming? All of these are far easier to judge with actual data than by guessing from a single voltage reading on an old-style analog meter. Budget systems without app connectivity still work fine. They leave you making these calls with much less information. That often leads to running out of power unexpectedly, or being overly conservative and not using capacity you actually had available.
Frequently Asked Questions
How much solar do I need for full-time RV living?
Most full-time RVers with a standard fridge and electronics do well with 600-800W of panels and 300-400 Ah of lithium battery capacity, adjusted for climate and sun exposure.
Can I run air conditioning on RV solar?
It’s possible but requires a much larger system (1,200W+ solar, large battery bank, and a high-capacity inverter) — most RVers with AC needs still rely on generator or shore power for AC specifically.
Are flexible solar panels worth it for RVs?
They’re worth it for weight-sensitive or irregular-roof setups, but expect a shorter lifespan than rigid panels — factor that into the cost comparison.
Do I need a professional to install RV solar?
Not necessarily — many RVers successfully DIY install, but get a qualified electrician involved if you’re unsure about wiring, fusing, or integrating with existing RV electrical systems.
How long do RV solar batteries last?
Quality lithium (LFP) batteries typically last 8-15 years with proper care, significantly longer than lead-acid or AGM alternatives commonly used in older RV setups.
Can I add solar to an existing RV without removing the roof?
Yes — most solar additions mount directly to the existing roof membrane with adhesive or brackets and don’t require roof removal, though proper sealing at mounting points is essential to prevent leaks.
Will solar panels void my RV’s roof warranty?
Check with your RV manufacturer first — some warranties have specific requirements about roof penetrations or approved installation methods, and professional installation may be required to preserve coverage.
How long does RV solar installation take?
A basic DIY system can be installed in a weekend. More complex systems with full electrical integration may take several days, especially if being done by a shop alongside other work.
How much does a full RV solar system cost installed?
A complete mid-range DIY system (panels, MPPT controller, lithium battery, inverter, wiring) typically runs $2,000-4,000 in parts. Professional installation adds $300-1,200 depending on system complexity.
Do RV solar panels work when driving?
Yes, roof-mounted panels continue charging while driving as long as they have sun exposure, which is a real advantage over portable panels that must be set up while parked.
What’s the difference between a solar generator and a built-in solar system?
A portable “solar generator” is a self-contained battery-inverter unit charged by separate panels, requiring no installation. A built-in system integrates panels, controller, battery, and inverter directly into the RV’s electrical system for permanent, hands-off operation.
Can I oversize my solar array beyond my battery’s charging capacity?
Yes, within reason — most charge controllers can handle some oversizing (commonly up to 1.2-1.3x their rated input), which helps maintain charging on cloudy days, but check your specific controller’s maximum input rating before adding panels beyond its spec.
Conclusion
RV solar sizing comes down to being honest about your actual daily power usage, not the size of system that happens to fit your budget or roof. Size around real numbers, choose lithium battery capacity that matches your usage style, and you’ll get a system that genuinely replaces generator dependence rather than just supplementing it.
For ground-based portable options, see our best portable solar chargers guide. For broader off-grid sizing principles that apply to stationary setups, see our off-grid cabin solar guide and energy storage system comparison. For inverter selection, see our best off-grid solar inverters guide. For independent technical background, see the U.S. Department of Energy’s guide to solar basics and NREL’s battery storage research.
If you want the specifics, our residential solar installation process goes deeper.
For smaller builds on a van rather than an RV, see van life solar.
Related Posts



Leave a Comment
Your comment will be published after it has been approved. Please send comments that do not contain slang words.