
Solar Panel Inspection Checklist
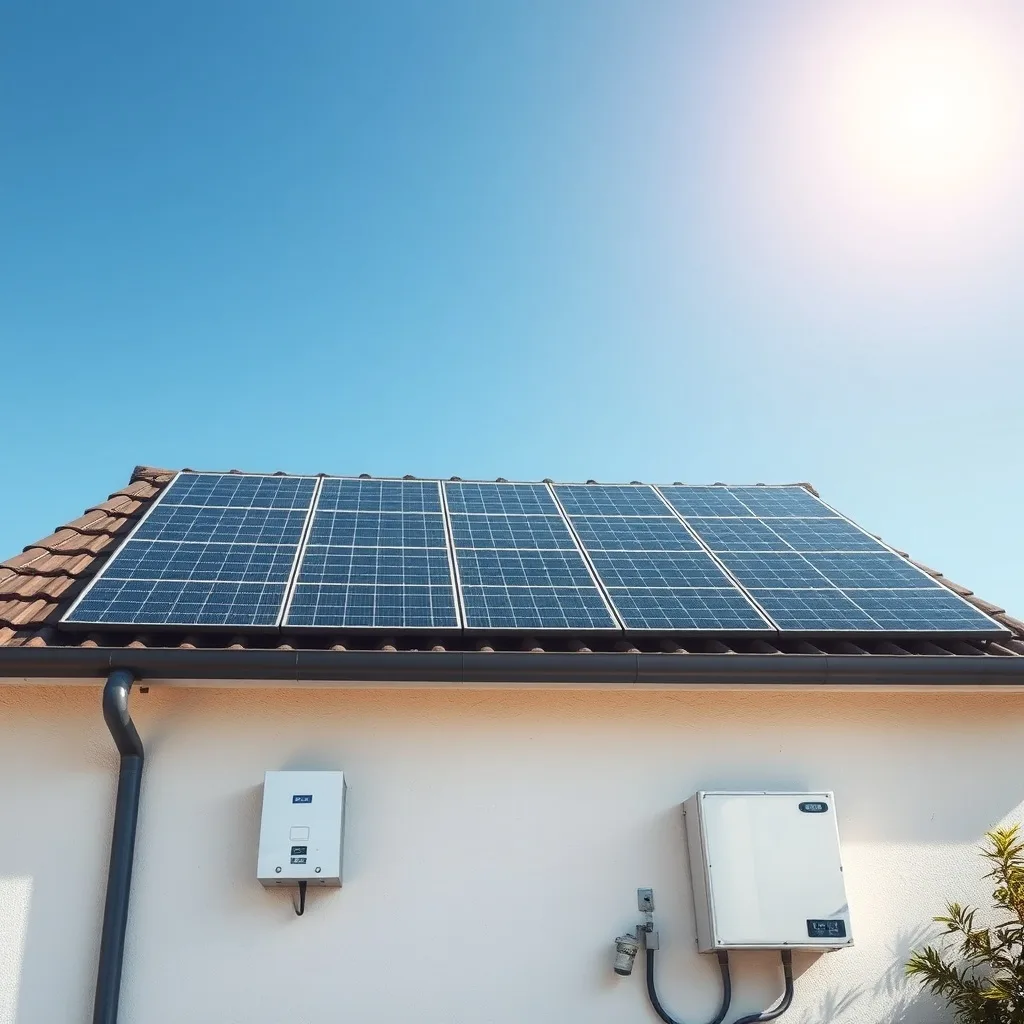
A regular solar panel inspection catches small problems — a loose connection, early corrosion, a cracked cell — before they become expensive ones. You do not need to climb on the roof, and you do not need special tools. You need a repeatable routine, a pair of binoculars, and your monitoring app. Here is exactly what to check, how often, and when to stop and call a professional.
Table of Contents
- How Often to Inspect
- Visual Inspection Checklist
- Monitoring Data Checklist
- Full Checklist
- A Seasonal Inspection Schedule
- When to Call a Professional
- Frequently Asked Questions
How Often to Inspect
A basic visual inspection twice a year — spring and fall — catches most developing issues early. Spring is the moment to look for winter damage: shifted panels, ice-lifted flashing, and debris packed under the array. Fall is the moment to clear leaves and check that everything is sealed before the wet season.
After any major storm, wind event, or hail, add a third check regardless of the calendar. Physical damage from weather is often invisible from the ground, but a sudden drop in production the following day usually is not. That is why the visual routine and the monitoring routine belong together.
The U.S. Department of Energy notes that a complete PV system is far more than the modules — mounting, wiring, and the inverter all have their own failure modes, and inverters will typically need replacing at least once over a 25-year array life. Your inspection should cover every one of those parts, not just the glass.
Visual Inspection Checklist
From the ground with binoculars, look for cracked glass, discoloration, visible debris buildup, and any panel that looks loose or misaligned compared to its neighbors. Work in a fixed order every time so you never skip a category.
Glass and cell surface
Look for star-shaped cracks, chipped corners, and milky or brown patches. Brown or yellow discoloration across a cell often means the encapsulant is degrading. Dark "snail trails" are usually cosmetic but worth photographing so you can compare year to year. A single hot spot — a cell that looks darker than the rest late in the day — deserves a closer look through your monitoring data.
Frames, clamps, and racking
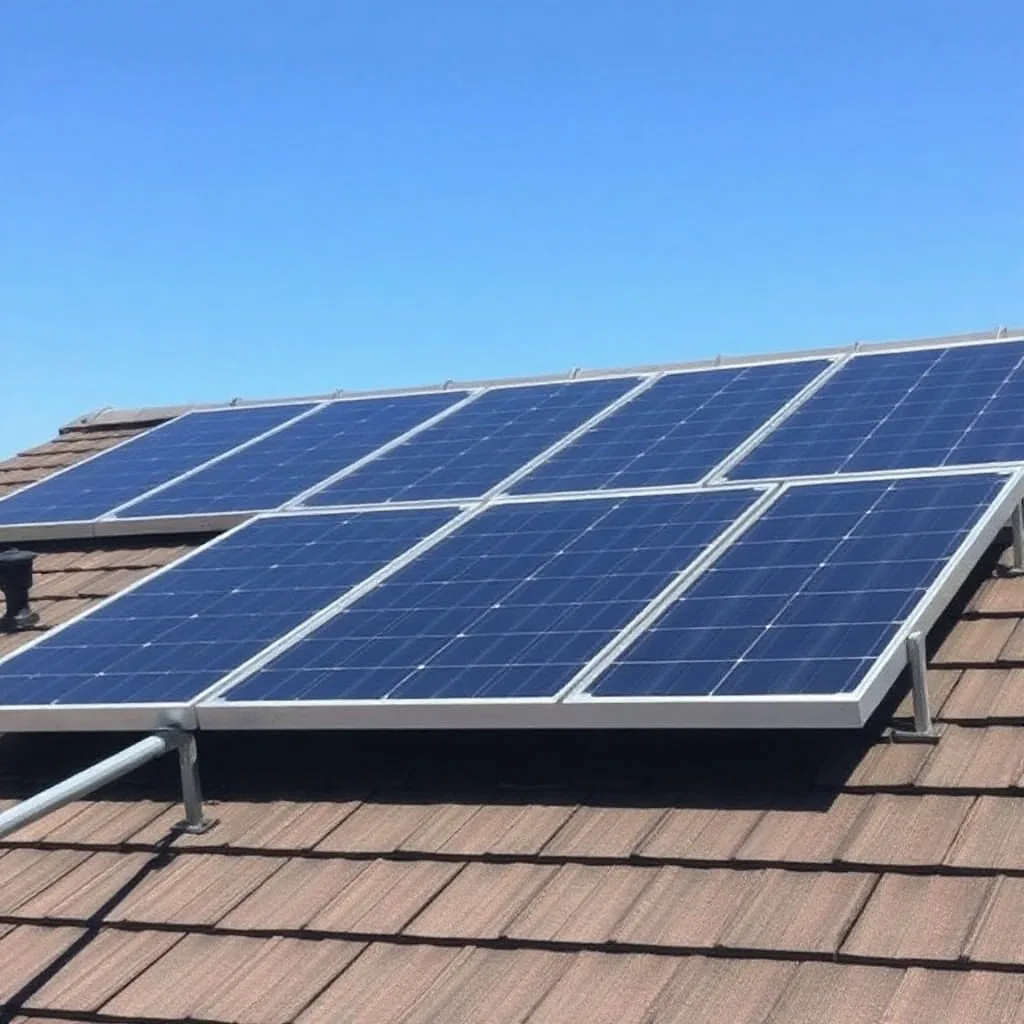
Check that every panel sits flush and level with the row. A panel that is lifted at one corner points to a loose mid-clamp or end-clamp. Look for rust streaks below any bolt, which signal a failing fastener or a missing washer. On tile roofs, check that no tile has cracked around a mounting foot.
Wiring, conduit, and junction boxes
Cables should be tucked under the array, not hanging in loops where wind or animals can reach them. Look for chewed insulation, sun-bleached cable ties, and conduit that has pulled away from a wall. Any exposed copper is a stop-and-call-someone finding, not a monitor-it finding.
Roof surface and penetrations
Walk the perimeter and look for granule loss below the array, lifted shingles at the edges, and staining on the ceiling inside the house directly below the roof penetrations. Water damage is the single most expensive consequence of a bad installation, and it usually shows up inside before it shows up outside.
Monitoring Data Checklist
Your inverter or monitoring app reveals problems that no ground-level check can. Open it during every inspection and answer four questions.
- Is every string or panel producing? A string at zero on a sunny day usually means a tripped breaker, a blown fuse, or a failed connector.
- Do similar panels produce similar amounts? If you have panel-level data, compare panels on the same roof face. One panel producing 15 to 20 percent less than its neighbors is worth a closer visual look for shade, soiling, or a crack.
- Has the daily curve changed shape? A dip at the same time every afternoon means new shading, often from a tree that has grown or a new structure nearby.
- Are there error codes or event logs? Ground faults, arc faults, and over-temperature warnings are logged even when the inverter recovers on its own.
Remember that output naturally varies with sunlight and temperature, as the U.S. Energy Information Administration explains in its primer on how photovoltaic cells make electricity. Compare like with like: a hazy day against a hazy day, a hot afternoon against a hot afternoon.
Keep a screenshot of a clear-sky day from each season. Comparing this year against last year on a similar day is the fastest way to notice slow degradation that a single reading would never reveal. Our inverter monitoring guide explains which metrics matter most.
Full Checklist
| Item | What to Look For | Frequency |
|---|---|---|
| Panel surface | Cracks, discoloration, snail trails, heavy debris, bird droppings | Spring, fall, after storms |
| Mounting hardware | Loose or lifted panels, rust streaks, missing clamps | Spring, fall |
| Wiring and conduit | Exposed or damaged wiring, chewed cables, hanging loops | Spring, fall |
| Roof and penetrations | Lifted shingles, granule loss, interior ceiling stains | Spring, fall, after storms |
| Monitoring data | Strings at zero, underperforming panels, changed daily curve | Monthly |
| Inverter | Fault codes, unusual noise, blocked vents, physical damage | Monthly |
| Disconnects and labels | Switches operate freely, labels legible, rapid shutdown label present | Yearly |
| Vegetation and shade | New branches, new structures, afternoon shade on the array | Yearly |
A Seasonal Inspection Schedule
Spreading the checklist across the year keeps each visit short. Most homeowners can complete a full seasonal pass in under thirty minutes.
| Season | Focus | Typical Findings |
|---|---|---|
| Spring | Winter damage, pollen and dust, racking alignment | Shifted panels, heavy pollen film, loose clamp |
| Summer | Inverter cooling, monitoring on the longest days, hot-spot check | Blocked inverter vents, clipping on hot afternoons |
| Fall | Leaves and nests, roof seals before rain, wiring | Debris under array, nesting under panels |
| Winter | Snow load, ice at edges, monitoring only | Snow-covered strings reading zero, ice on flashing |
Winter deserves its own routine. Snow and ice change what is safe to do and what is worth doing, which we cover in our winter maintenance guide.

When to Call a Professional
Any sign of cracked glass, exposed wiring, or persistent underperformance you cannot explain warrants a professional inspection rather than continued DIY monitoring. Climbing onto the roof yourself for close inspection is not necessary or recommended. Ground-level visual checks plus monitoring data cover most routine needs.
Call a licensed installer or solar electrician right away if you see any of the following:
- Scorch marks, melted plastic, or a burning smell near the inverter, combiner box, or a junction box.
- A repeating ground-fault or arc-fault code that returns after the inverter resets.
- Water staining inside the house below a roof penetration.
- A panel that has visibly shifted or lifted, especially after high wind.
- Exposed conductors anywhere on the roof or along the conduit run.
A professional inspection typically includes thermal imaging, string-level voltage and current measurements, and torque checks on the racking. Ask for a written report with photos. That report becomes part of your warranty file, which matters if you ever need to make a claim — see our warranty claims guide for what to keep.
Frequently Asked Questions
How often should I inspect my solar panels?
Twice yearly for routine visual checks, monthly for a quick look at monitoring data, plus an extra check after any major storm or hail event.
Do I need to climb on my roof to inspect panels?
No. Ground-level visual checks with binoculars plus monitoring app data cover most routine inspection needs, and roof work carries a real fall risk.
What is the most common issue found during inspection?
Debris buildup, pollen film, and minor mounting hardware corrosion are the most commonly caught issues. None of them is urgent, but all of them cost you output if ignored.
Can monitoring data replace visual inspection?
They complement each other. Monitoring catches performance issues such as a dead string, while visual inspection catches physical damage such as a cracked panel or a lifted clamp.
Should I inspect after every storm?
A quick check after significant wind or hail is worthwhile. Ordinary rain does not require an inspection and usually helps by rinsing dust from the glass.
Does a DIY inspection affect my warranty?
No. Looking, photographing, and reading your monitoring app never affects coverage. Opening electrical enclosures or disconnecting panels can, so leave that to a licensed professional.
For storm-specific damage, see our solar panel hail damage guide. For cleaning as part of upkeep, see our solar panel cleaning guide.
Add the electrical safety checks described in solar panel grounding and bonding.
In high-wind regions also read hurricane-rated solar panels.
This checklist sits inside a wider set, collected in the maintenance topic guide.
Related Posts
Leave a Comment
Your comment will be published after it has been approved. Please send comments that do not contain slang words.